Pinewood Derby Bore Preparation Study

This page provides some microscopic comparisons among several methods for preparing the bores of Pinewood Derby wheels.  Of particular interest is a bore preparation method described here.

Background

Different pinewood derby racers prefer various methods for preparing the wheel bores, the goal being to reduce the friction coefficient.  The general intuition is that the smoother the bore, the lower the coefficient of friction should be, although I'm not aware of any object evidence that actually confirms this.  Nonetheless, I tried a few different bore preparation methods, and then took pictures of the results using a digital microscope.

Methodology

I tried several basic preparation techniques based on what I was familiar with and the materials I had on hand, plus the micromesh method.  In each case I prepared an unused 1999 BSA Pinewood Derby wheel, then cut the wheel open on a scroll saw. 

The act of cutting open the bores imparts a charge to the plastic chips -- they cling to everything.  Very likely the wheel halves also pick up a charge, and actively attract dust.  After cutting, any chips in the bores were carefully removed with a disposable chip brush.

The microscope is an Intel QX-3 digital microscope, capable of 60x and 200x magnification.  (It's also capable of 10x magnification, but I didn't use that configuration for this study.)  Except where indicated, all of the images below are at 60x magnification.

Methods and Images

Novus 2 on Q-tip Shafts

I cut the two ends off a Q-tip, leaving just the rolled paper shaft.  The shaft is approximately 0.095" in diameter, and just fits the inside of a Pinewood Derby wheel.  I chucked the rolled paper shaft in a drill press, and then dipped it in a bottle of Novus 2 plastic polish.  I held the wheel in my fingers and held it up to the bottom of the paper shaft, and then turned on the drill press at 650 rpm.  I ran the wheel up and down the shaft for approximately 5-10 seconds, while rotating the wheel in the direction opposite to the turning of the shaft.  (Turning the wheel is an effort to ensure that the shaft contacts the bore more or less uniformly.)

After removing the wheel from the still-spinning paper shaft, the wheel was rinsed in tap water.  A simple ear syringe was used to force water through the bore to remove any residual plastic polish.  The wheel was then allowed to dry.


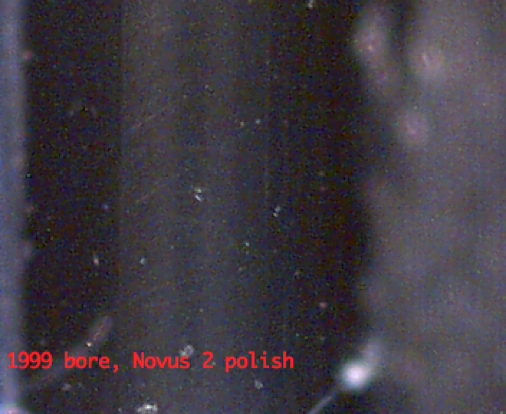
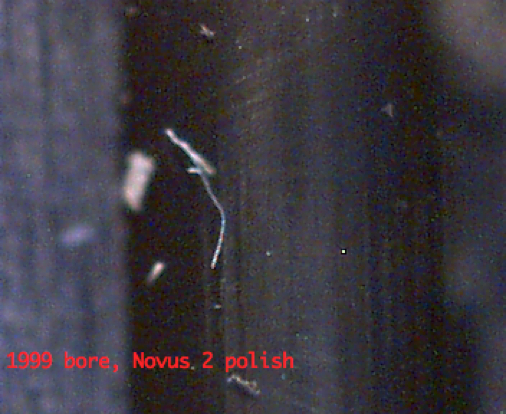
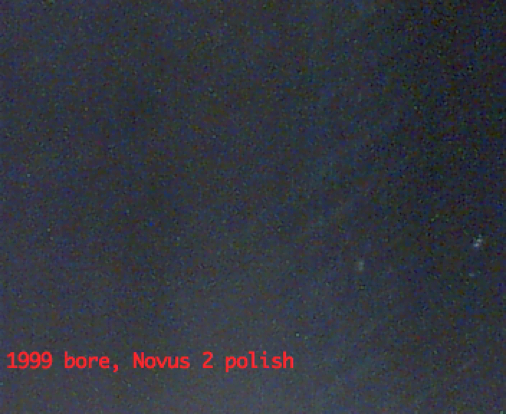
Novus 2 bore at 200x


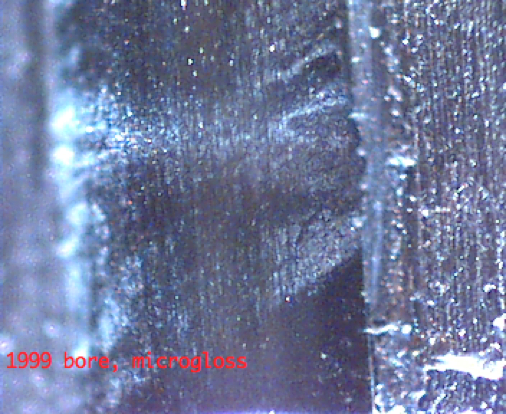
Micro-Gloss on Q-tip Shafts

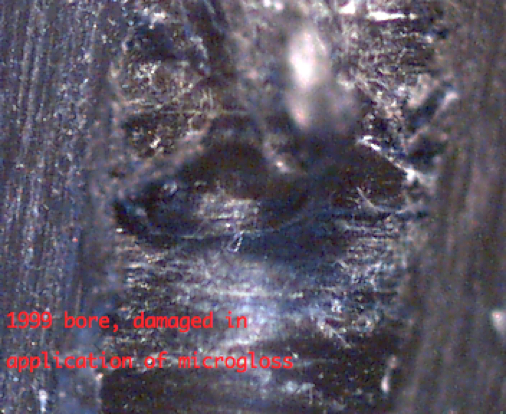
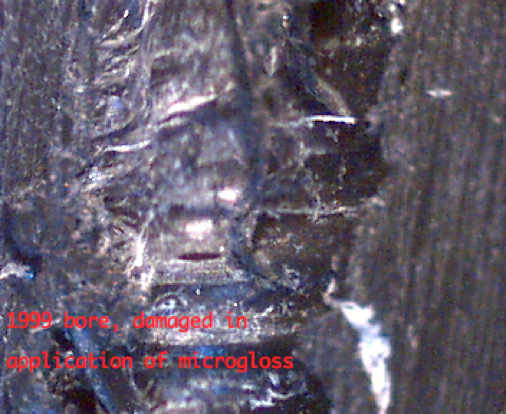
This technique is exactly like the Novus 2 preparation, but uses Micro-Gloss Liquid Abrasive instead of the Novus 2.

The first wheel I prepared this way actually bound to the rolled paper shaft, perhaps because the shaft had enlarged from absorbing too much liquid.  The bore was effectively destroyed, but I photographed it anyway.  My second attempt was successful.  (We've used Micro-Gloss many times over the last several years; this outcome with the first wheel is definitely unusual.)


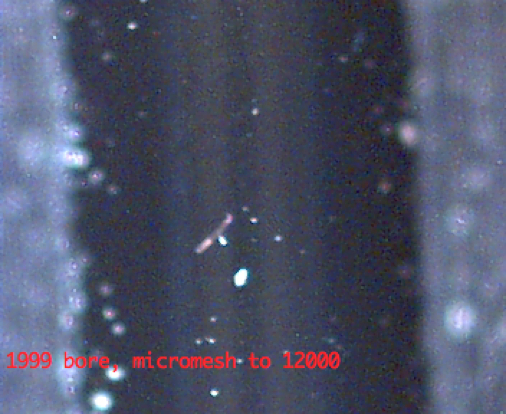
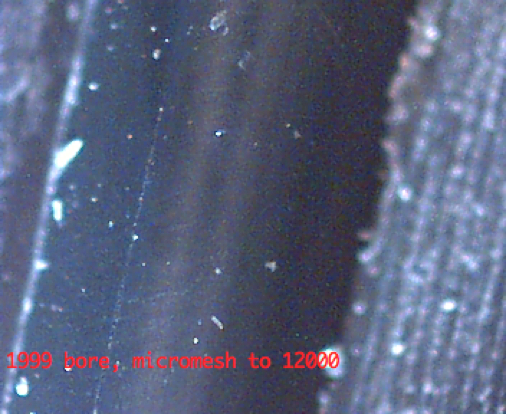
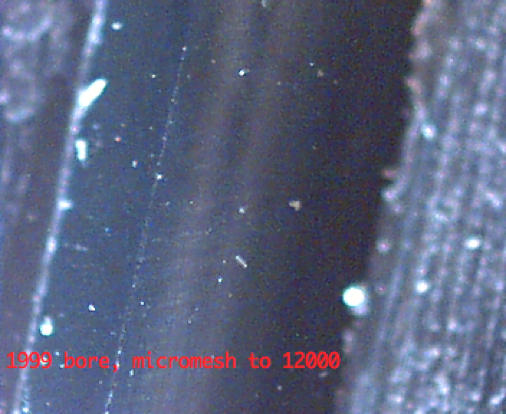
Sporty's Micro-Mesh Sticks

Sporty was kind enough to send me some bore prep sticks, made from adhesive-backed Micro-Mesh sandpaper, in 4000, 6000, 8000, and 12000 grit, wrapped around 0.050" carbon fiber rods.  (Micro-Mesh' grit numbering appears to be non-standard; they offer a conversion chart here.)

The drill rods were chucked in turn in the drill press, starting with the 4000 and progressing through to the 12000 grit.  The wheel was brought up so that the bore was made to pass around the sandpaper, and then the drill press was turned on, again at 650 rpm.  As with the polishes, the wheel was moved up and down the sandpaper while turning the wheel by hand, counter to the rotation of the drill press.

No water was used with this method, so there was no need to rinse and dry the wheel bore.


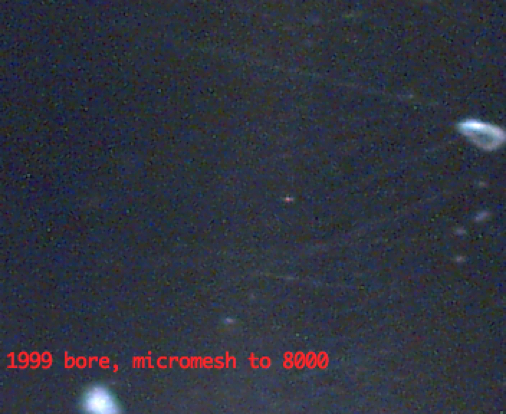
Sporty's Micro-Mesh to 8000

I repeated the Micro-Mesh process on another wheel, but this time stopping at 8000 grit, without using the final 12000 grit paper.  I was curious whether the effect of the last step could be seen.


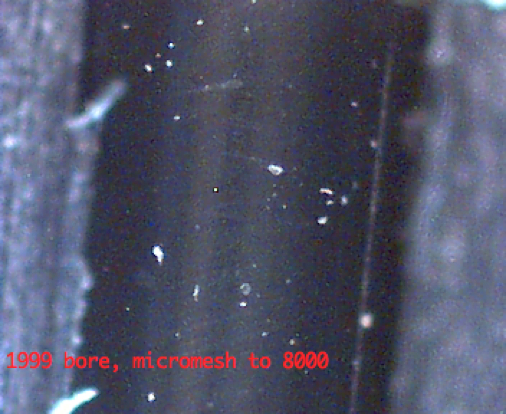
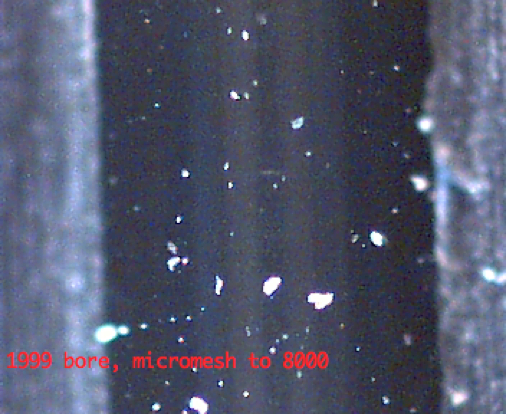
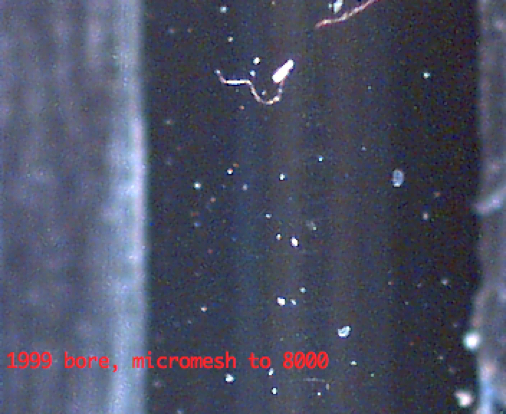
Micro-Mesh to 8000, at 200x.


Plain Bore

As a control, I also cut open and photographed a fresh-from-the-box wheel without any preparation.
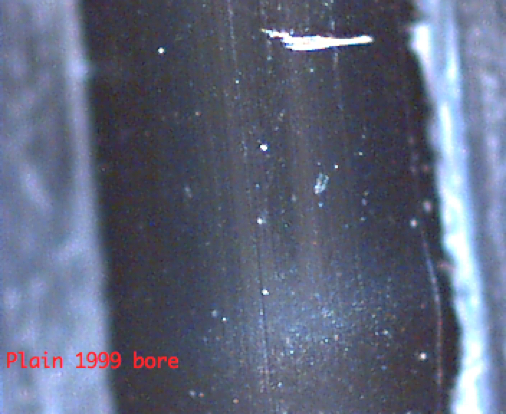
Plain bore, 200x


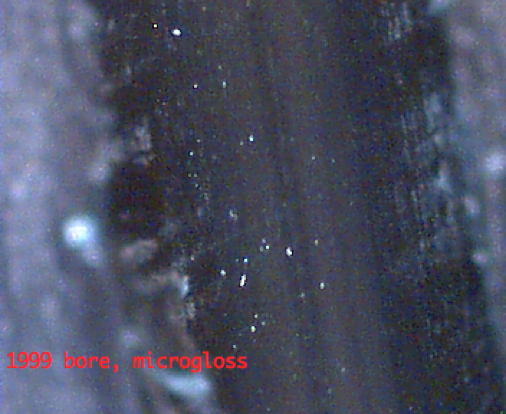
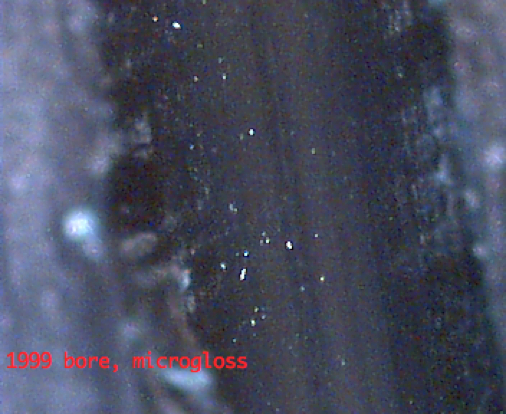
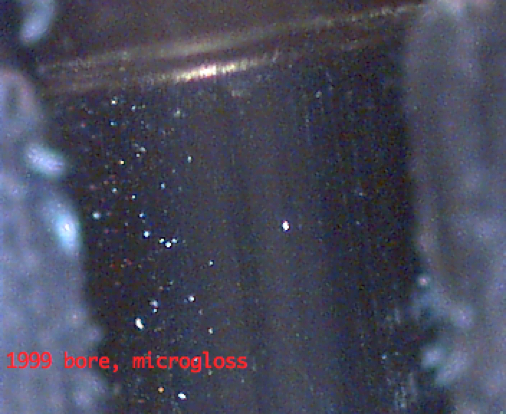
Bore Damaged by Micro-Gloss Polishing

Here are some images of the bore that was damaged during Micro-Gloss polishing.


Conclusions

Of course you can draw your own conclusions from the images shown here.  To my eye, it looks like Sporty's on to something, with his Micro-Mesh sticks producing the smoothest finish of all.  I see almost no scratch pattern in these images.

Not far behind are the Novus 2 and Micro-Mesh 8000 techniques, which I would say are nearly tied, but the Micro-Mesh 8000 produces slightly better results.  You can see scratches in these bores, but not very much.

I expected the Micro-Gloss bore to do a lot better -- I'm very surprised to find it a significant step worse than the Novus 2.  Upon closer inspection, the issue here may be that the Micro-Gloss is too fine an abrasive to remove the roughness of the original wheel bore when used alone, as the plain bore's longitudinal markings are still evident.

The untreated Pinewood Derby wheel bore is actually a lot smoother than I had previously believed, at least looking at these images.  It shows a pattern of striations that run longitudinally through the bore, in contrast to the prepared bores' transverse polishing marks.

Finally, the bore damaged during the Micro-Gloss treatment is really a mess.  Although I saw some pieces of plastic come off on the Q-tip when the damage occurred, I would not have guessed the damage was this severe.

Futures

In general, I'm fairly disappointed by the quality of these images.  I think lighting is the main culprit, and I hope to experiment a bit more with different lighting set-ups and try again.  Also, I clearly need to pay more attention to dust in the bores after cutting them open.

I suspect a bore prepared with Novus 2 followed by Micro-Gloss might be competitive with the Micro-Mesh technique.

I had originally hoped to do some direct friction measurements of the prepared bores, using a spin ring, but was unable to achieve satisfactory results.  (Too much chatter in the spin ring set-up.)  Friction measurements in combination with the microscope images would help confirm or disprove the expectation that smooth bores are actually desirable for performance.

I'd like to do another study of the different methods for applying graphite to the bore.

Finally, I hope to capture some images like these using wheels that have been down the track a number of times, to get an idea of the amount of wear the bores experience.